Removing Swirl Marks from Black Paint Using a Dual Action Polisher
Swirl marks are a common concern for owners of dark-colored vehicles, particularly those with black paint. These fine, circular scratches are often introduced during washing or drying routines and are most noticeable under direct light. While they do not affect the structural integrity of the paint, they diminish the overall appearance by creating a hazy or cobweb-like effect. Addressing swirl marks requires a methodical approach that combines the right equipment, compounds, and techniques. A dual action polisher is frequently used for this task because it reduces the risk of burning through the clear coat while providing enough movement to level the paint surface.
This article outlines a step-by-step process for removing swirl marks from black paint using a dual action polisher. The focus is on explaining the principles behind each step, the variables involved, and how different combinations of pad, compound, and machine speed can produce varying results. It is important to recognize that paint correction is an iterative process. Factors such as the hardness of the clear coat, the depth of the swirl marks, and the ambient temperature can all influence the outcome. By understanding these elements, one can adapt the process to the specific condition of the vehicle rather than following a rigid formula.
The following sections cover the selection of pads and compounds, machine setup, application techniques, and post-polishing inspection. Each step is described in a neutral, informational manner to provide a clear framework for anyone interested in restoring the gloss of a black paint finish. No guarantees are made regarding the final result, as the effectiveness of the process depends on multiple external factors, including the skill of the operator and the condition of the paint.
Understanding Swirl Marks and Their Causes
Swirl marks are micro-scratches that form in the clear coat layer of automotive paint. They are typically caused by abrasive particles trapped between a wash mitt, drying towel, or sponge and the paint surface. When these particles are dragged across the paint, they create shallow, curved scratches that reflect light unevenly. On black paint, the contrast between the dark base and the light-scattering scratches makes them particularly visible. Understanding this mechanism is essential for selecting the appropriate correction method.
Not all swirl marks are identical. Some are very fine and only affect the topmost layer of the clear coat, while others are deeper and require more aggressive correction. The depth of the scratch determines the amount of paint that must be removed during polishing. The clear coat typically has a thickness of about 1.5 to 2.5 mils (38 to 64 microns), and removing too much can compromise the protective layer. Therefore, any correction process should aim to remove only enough material to level the surface without exposing the color coat beneath.
It is also worth noting that black paint often reveals imperfections more readily than lighter colors because it absorbs more light and reflects less. This makes the visual feedback during polishing more pronounced. The operator can see the gradual improvement in clarity as the swirl marks diminish. This direct visual feedback is helpful for adjusting the pressure, speed, or pad selection during the process.
Selecting the Right Pad and Compound
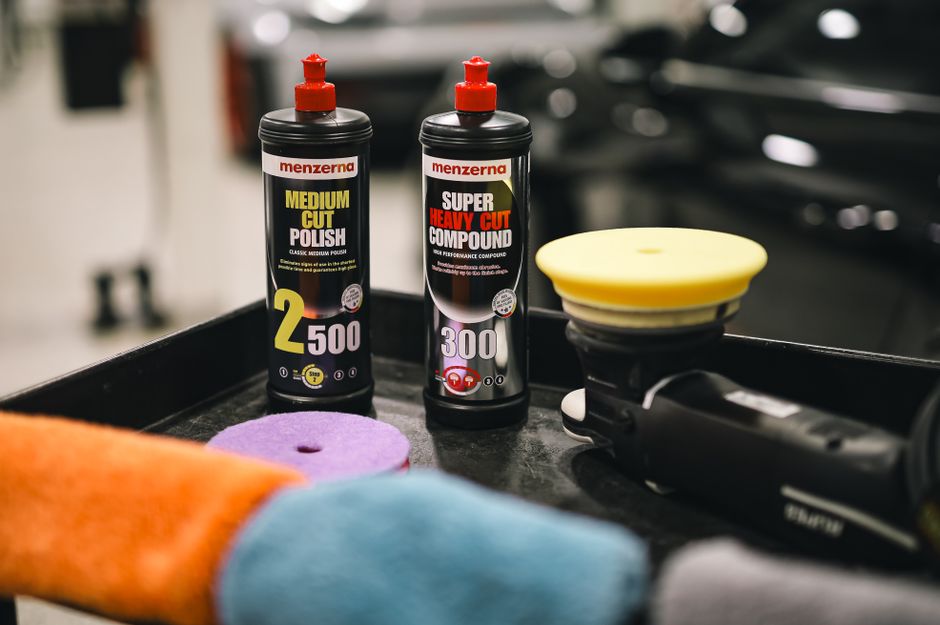
The combination of pad and compound is one of the most important variables in swirl mark removal. Pads come in various densities, from cutting pads (wool or heavy foam) to polishing pads (medium foam) and finishing pads (soft foam). Compounds also vary in abrasiveness, ranging from heavy-cut compounds to fine polishes and glazes. For black paint, a conservative approach is often recommended to minimize the risk of hazing or micro-marring. Typically, a medium-cutting pad paired with a mild to moderate compound is a safe starting point.
Many detailing enthusiasts and professionals use products from companies such as Elite Car Care, which offer a range of pads and compounds designed to work together. A common combination for swirl mark removal is a foam polishing pad with a chemical polish that contains diminishing abrasives. Diminishing abrasives break down as they are worked, becoming progressively finer. This allows the operator to remove the initial scratches while simultaneously refining the surface. The goal is to achieve a level of gloss that does not require a separate finishing stage.
It is important to test the chosen combination on a small, inconspicuous area before proceeding with the entire panel. This test spot helps to assess how the paint responds to the abrasive action. The operator should look for two things: the ability to remove swirl marks and the clarity of the finish afterward. If the test spot shows hazing or additional micro-scratches, a less aggressive pad or finer compound may be needed. Conversely, if the swirl marks remain, a slightly more aggressive combination might be required. Each vehicle may respond differently, so this testing phase is a valuable diagnostic step.
Setting Up the Dual Action Polisher
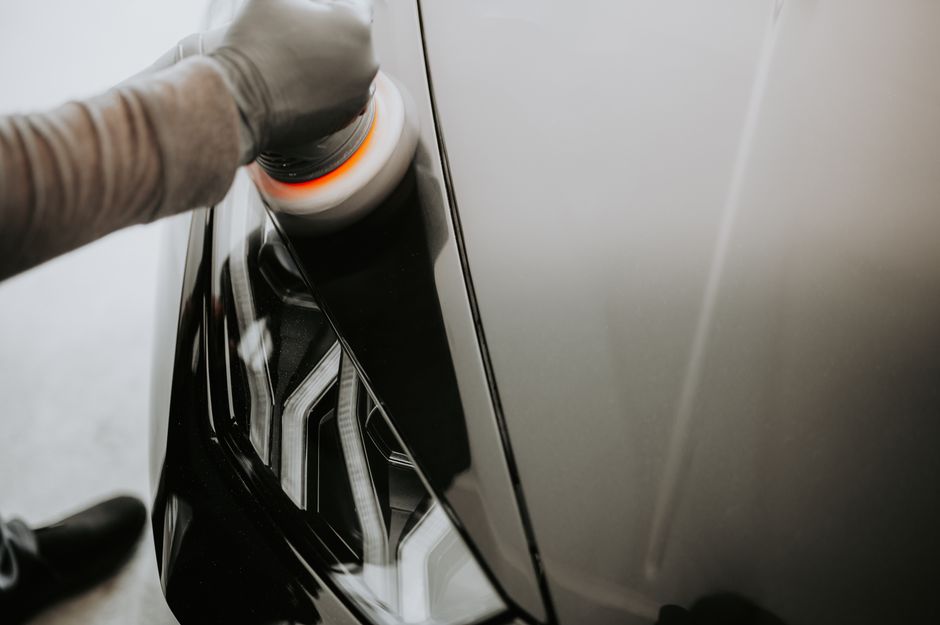
A dual action polisher operates by rotating the pad in an orbit while also oscillating it from side to side. This dual motion reduces the risk of burning the paint and makes it more forgiving for users who are still developing their technique. Before starting, the machine should be equipped with the chosen pad and a small amount of compound applied to the pad. The compound should be spread evenly across the working area to avoid flinging it off during operation.
Speed settings on a DA polisher typically range from 1 to 6, with higher speeds producing more aggressive action. For swirl mark removal, a speed of 4 to 5 is commonly used. However, the optimal speed can vary based on the compound and pad combination. Slower speeds (2 to 3) are sometimes used for spreading the compound and for finishing, while higher speeds (5 to 6) are reserved for cutting. The operator should start at a lower speed to spread the compound, then increase to the working speed once the pad is evenly coated.
Pressure is another variable that affects the outcome. Light to moderate pressure is generally recommended, as excessive pressure can force the pad to make more aggressive contact and may create buffer trails or holograms. The weight of the machine itself provides some downward force; additional pressure should be applied only if necessary. The operator should move the polisher in overlapping passes, covering the area methodically. A consistent pattern, such as left-to-right and then top-to-bottom, helps ensure even coverage.
Technique for Removing Swirl Marks
The actual correction process involves working the compound across the paint until it breaks down and becomes clear or powdery. This typically takes several passes, depending on the speed, pressure, and ambient conditions. For black paint, it is advisable to work in small sections, about 2 feet by 2 feet, to maintain control and prevent the compound from drying out. Each section should be worked for 30 to 60 seconds, moving the polisher slowly and deliberately.
After working a section, the residue should be wiped off with a clean microfiber cloth. The operator can then inspect the area under direct light, such as a dedicated detailing light or sunlight, to evaluate the level of correction. If swirl marks are still visible, the section may need an additional pass with the same combination or a slightly more aggressive approach. If the surface looks clear but lacks depth, a finishing polish with a soft pad can be used to enhance the gloss. This step is especially beneficial for black paint, which often benefits from the extra refinement.
It is important to avoid overworking the area. Extended polishing on the same spot can generate heat, which may soften the clear coat and lead to paint damage. Taking breaks between sections allows the paint to cool. The process should be carried out in a controlled environment, ideally indoors and out of direct sunlight, to prevent the compound from drying prematurely and to reduce temperature fluctuations. Each panel may require a different number of passes, so patience and careful observation are essential.
Finishing and Inspection
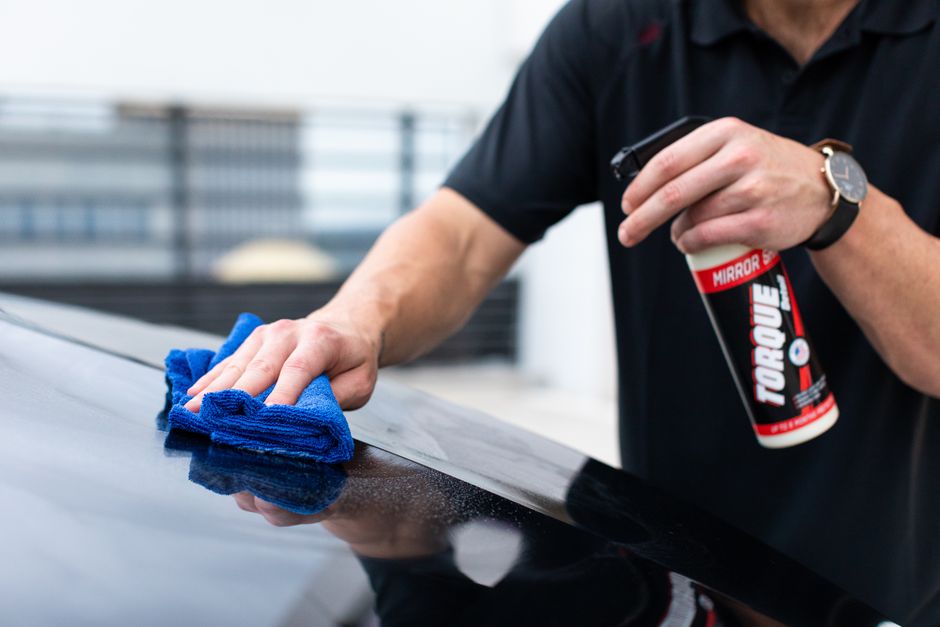
Once the entire vehicle or the targeted panels have been polished, a thorough inspection is necessary. The paint should be wiped clean with a quality microfiber cloth to remove any residue. Using a spray wax or a quick detailer can help reveal any remaining imperfections. Under a bright light, the operator should look for three things: whether the swirl marks are fully removed, whether any new micro-marring has been introduced, and whether the gloss level is uniform across all panels.
If the desired level of clarity has not been achieved, the operator may choose to repeat the process with a different combination. For example, if a medium polishing pad was used initially, switching to a slightly more aggressive cutting pad and a heavier compound might address deeper swirl marks. Conversely, if the finish appears slightly hazy, a final pass with a finishing pad and a fine polish can restore clarity. The key is to make incremental adjustments based on what the paint reveals under inspection.
After the correction stage, the paint is more vulnerable to contamination because the clear coat has been thinned slightly. Applying a protective layer, such as a sealant or a ceramic coating, can help maintain the finish and reduce the accumulation of new swirl marks. The choice of protection depends on the owner’s maintenance routine and environmental conditions. Regular washing with the two-bucket method and the use of soft microfiber towels can further minimize the introduction of new scratches.
Paint correction is not a one-size-fits-all process. The same combination of pad and compound may yield different results on different vehicles, or even on different panels of the same vehicle. Observation and adaptation are the most reliable tools.